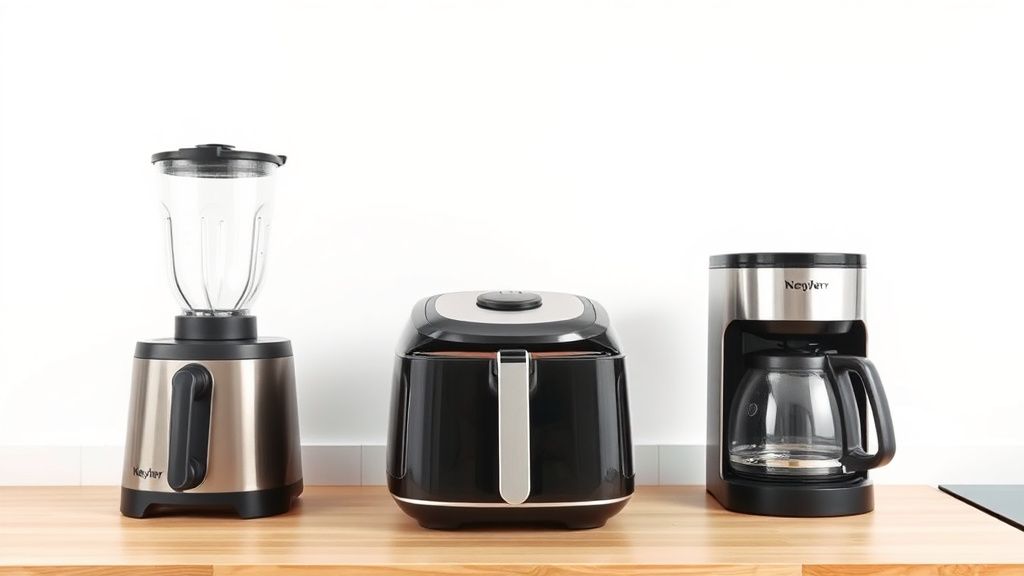
How to Clean a Blender: Deep Cleaning and Daily Maintenance
Keeping your blender clean ensures it performs well, lasts longer, and prevents lingering odors or residue. Whether you have a high-performance blender with a stainless steel base or a compact personal blender with a plastic jar, proper cleaning methods vary slightly. Below, we’ll cover daily maintenance, deep cleaning, and what to look for when inspecting your blender.
Daily Cleaning Routine
After each use, a quick clean prevents sticky buildup and keeps your blender ready for the next task.
Step 1: Rinse Immediately
- Fill the blender jar halfway with warm water and a drop of dish soap.
- Secure the lid and blend for 20-30 seconds. This loosens residue stuck to the blades and jar walls.
- For blenders with removable blades (common in personal blenders), disassemble and rinse separately.
Step 2: Hand Wash Non-Electrical Parts
- Pour out the soapy water and rinse the jar, lid, and gasket (if removable) under warm water.
- Use a soft sponge or brush to scrub stubborn spots, avoiding abrasive pads that can scratch plastic or glass.
- Dry thoroughly before reassembling to prevent moisture buildup.
Step 3: Wipe Down the Base
- Unplug the blender and dampen a microfiber cloth with water or a mild cleaner.
- Wipe the base, control panel, and cord, avoiding excess moisture near buttons or vents.
Deep Cleaning Your Blender
For tougher stains, odors, or dried-on food, a deep clean every few weeks is essential.
Step 1: Disassemble the Blender
- Remove the jar, lid, gasket, and blade assembly (if possible). Check your manual for disassembly instructions—some high-end models have sealed blade units that shouldn’t be detached.
Step 2: Soak Removable Parts
- Fill a sink or basin with warm water and a few drops of dish soap or white vinegar.
- Submerge the jar, lid, and gasket for 15-30 minutes to loosen residue. For stubborn stains (e.g., turmeric or berry pigments), add baking soda to the soak.
Step 3: Scrub the Blade Assembly
- Use a small brush (like a bottle brush or toothbrush) to clean around the blade’s crevices. Avoid touching sharp edges directly.
- For sealed blade units, blend a mixture of warm water and baking soda (or vinegar) to sanitize without disassembly.
Step 4: Deodorize Naturally
- To remove lingering smells (like garlic or fish), blend a solution of water and lemon peels or a teaspoon of baking soda. Rinse thoroughly afterward.
Step 5: Clean Hard-to-Reach Areas
- Check under the gasket (if removable) for hidden food particles. Mold can grow here if neglected.
- Dry all parts completely before reassembling to prevent mildew.
What to Look for When Cleaning
Regular inspections help maintain your blender’s performance and safety:
- Cracks or Cloudiness – Cloudy plastic jars or cracks can harbor bacteria and weaken structural integrity. Replace if damaged.
- Worn Gaskets – A frayed or loose gasket can cause leaks. Many brands sell replacement gaskets.
- Blade Dullness – While cleaning, check for nicks or dullness. Blades can’t typically be sharpened at home, so consider professional servicing.
- Mineral Deposits – Hard water can leave white spots on stainless steel bases. Wipe with vinegar or a descaling solution.
Special Considerations by Blender Type
Glass Jars
- Resistant to stains and odors but heavier. Avoid sudden temperature changes (e.g., hot blends in a cold jar) to prevent cracking.
Plastic Jars
- Lightweight but prone to scratches and retaining odors. Use gentle cleaners and avoid tomato-based or oily blends without immediate washing.
Stainless Steel Bases
- Wipe with a damp cloth and dry immediately to prevent water spots. Avoid harsh chemicals that can damage finishes.
Personal Blenders (Single-Serve Cups)
- Often have blade assemblies that screw onto the cup. Clean threads thoroughly to prevent cross-threading.
Final Tips for Longevity
- Always unplug before cleaning.
- Store the blender with the lid off to air out moisture.
- Avoid submerging the base in water—even if labeled “splash-proof.”
With these steps, your blender will stay hygienic and efficient for years. Regular care takes just minutes but makes a big difference in performance and safety.