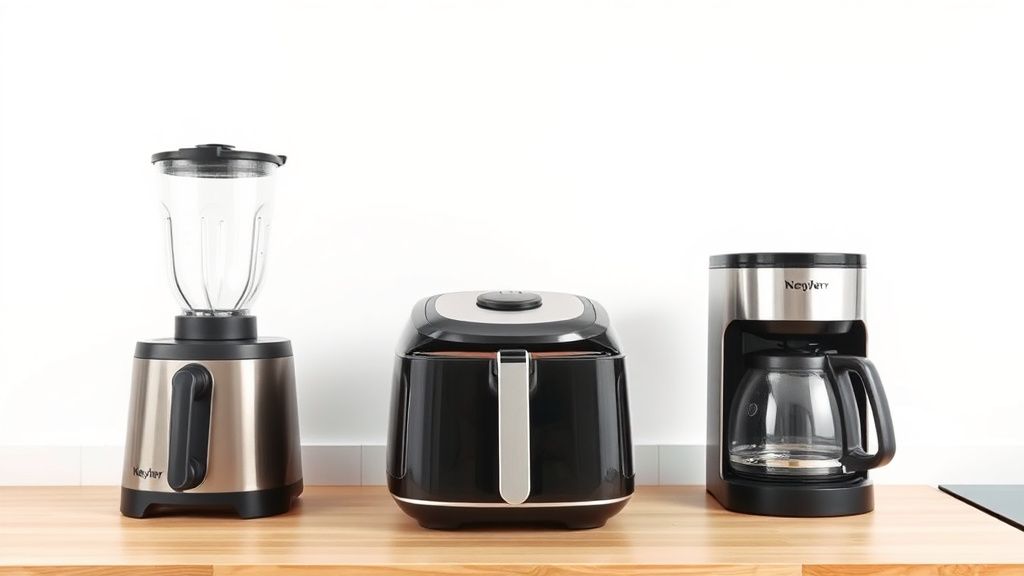
How to Clean Your Air Fryer: Tips for Longevity and Performance
Air fryers have become a staple in modern kitchens, offering a healthier way to enjoy crispy foods with minimal oil. But like any countertop appliance, regular cleaning is essential to maintain performance and extend its lifespan. Grease buildup, food residue, and neglected components can affect cooking efficiency and even create unpleasant odors. Follow these detailed steps to keep your air fryer in top shape.
Why Cleaning Your Air Fryer Matters
Neglecting air fryer maintenance can lead to:
- Uneven cooking – Grease and debris can block airflow, preventing even heat distribution.
- Smoke and odors – Burnt-on food particles can cause smoke during use.
- Reduced lifespan – Accumulated grime strains the heating element and fan.
Most air fryers feature a nonstick basket, a removable tray, and an outer heating element. Understanding these parts ensures thorough cleaning without damage.
Step-by-Step Cleaning Guide
1. Unplug and Cool Down
Always disconnect the air fryer and let it cool completely before cleaning. Handling hot components risks burns and warping plastic parts.
2. Remove and Soak the Basket and Tray
Most models have a nonstick-coated basket and a drip tray (some with a mesh or perforated design).
- Fill the sink with warm, soapy water and soak the basket and tray for 5–10 minutes.
- Use a soft sponge or nylon brush to scrub away residue—avoid steel wool or abrasive pads to prevent scratching.
- For stubborn grease, mix baking soda and water into a paste, apply, and gently scrub.
3. Wipe the Interior and Heating Element
- Use a damp microfiber cloth to wipe the interior cavity, including the walls and heating coil (if accessible).
- Avoid submerging the base unit in water—moisture can damage electrical components.
- For stuck-on debris, dip a cotton swab in vinegar or rubbing alcohol to spot-clean.
4. Clean the Exterior
Wipe the outer surface with a damp cloth. For stainless steel models, use a mild cleaner to prevent streaks.
5. Address the Fan (If Applicable)
Some air fryers have an exposed fan at the back. Use a dry toothbrush or compressed air to dislodge dust and crumbs gently.
6. Dry Thoroughly Before Reassembling
Ensure all parts are completely dry to prevent moisture buildup, which can lead to mold or electrical issues.
Deep Cleaning for Tough Buildup
For neglected air fryers with heavy grease:
- Fill the basket with warm water and a few drops of dish soap.
- Run the air fryer at 350°F (175°C) for 3–5 minutes to loosen grime.
- Empty the basket, scrub, and rinse.
What to Look for in an Easy-to-Clean Air Fryer
When shopping for a new air fryer, prioritize these features for hassle-free maintenance:
- Dishwasher-safe parts – Some baskets and trays are dishwasher-safe (check manufacturer guidelines).
- Nonstick coating – High-quality coatings resist scratching and make wiping easier.
- Removable drip tray – Catches grease and prevents it from baking onto the heating element.
- Accessible design – Models with fewer crevices or detachable panels simplify cleaning.
Frequency of Cleaning
- After every use – Wipe down the basket and tray to prevent residue hardening.
- Weekly – Deep-clean the interior and check the heating element.
- Monthly – Inspect the fan and exterior for dust buildup.
Common Mistakes to Avoid
- Using harsh chemicals – Bleach or oven cleaners can degrade nonstick coatings.
- Ignoring the heating element – Grease splatters here can smoke during cooking.
- Storing while damp – Promotes bacterial growth and odors.
Final Tips for Longevity
- Line the basket with parchment paper (with holes for airflow) to minimize mess.
- Avoid cooking overly greasy foods frequently—excess oil accelerates buildup.
- Refer to your model’s manual for brand-specific care instructions.
By following these steps, your air fryer will deliver consistent results and last for years. A little routine care goes a long way in preserving performance and keeping your meals tasting their best.